This extension lets you use the files hosted on your Google Drive as Download Monitor files. If you want to take advantage of the Google Drive Extension, you’ll need first to establish a few things.
Installation
- Unzip and upload the plugin’s folder to your /wp-content/plugins/ directory
- Activate the extension through the ‘Plugins’ menu in WordPress
For more information on installing and activating Download Monitor see here.
Usage
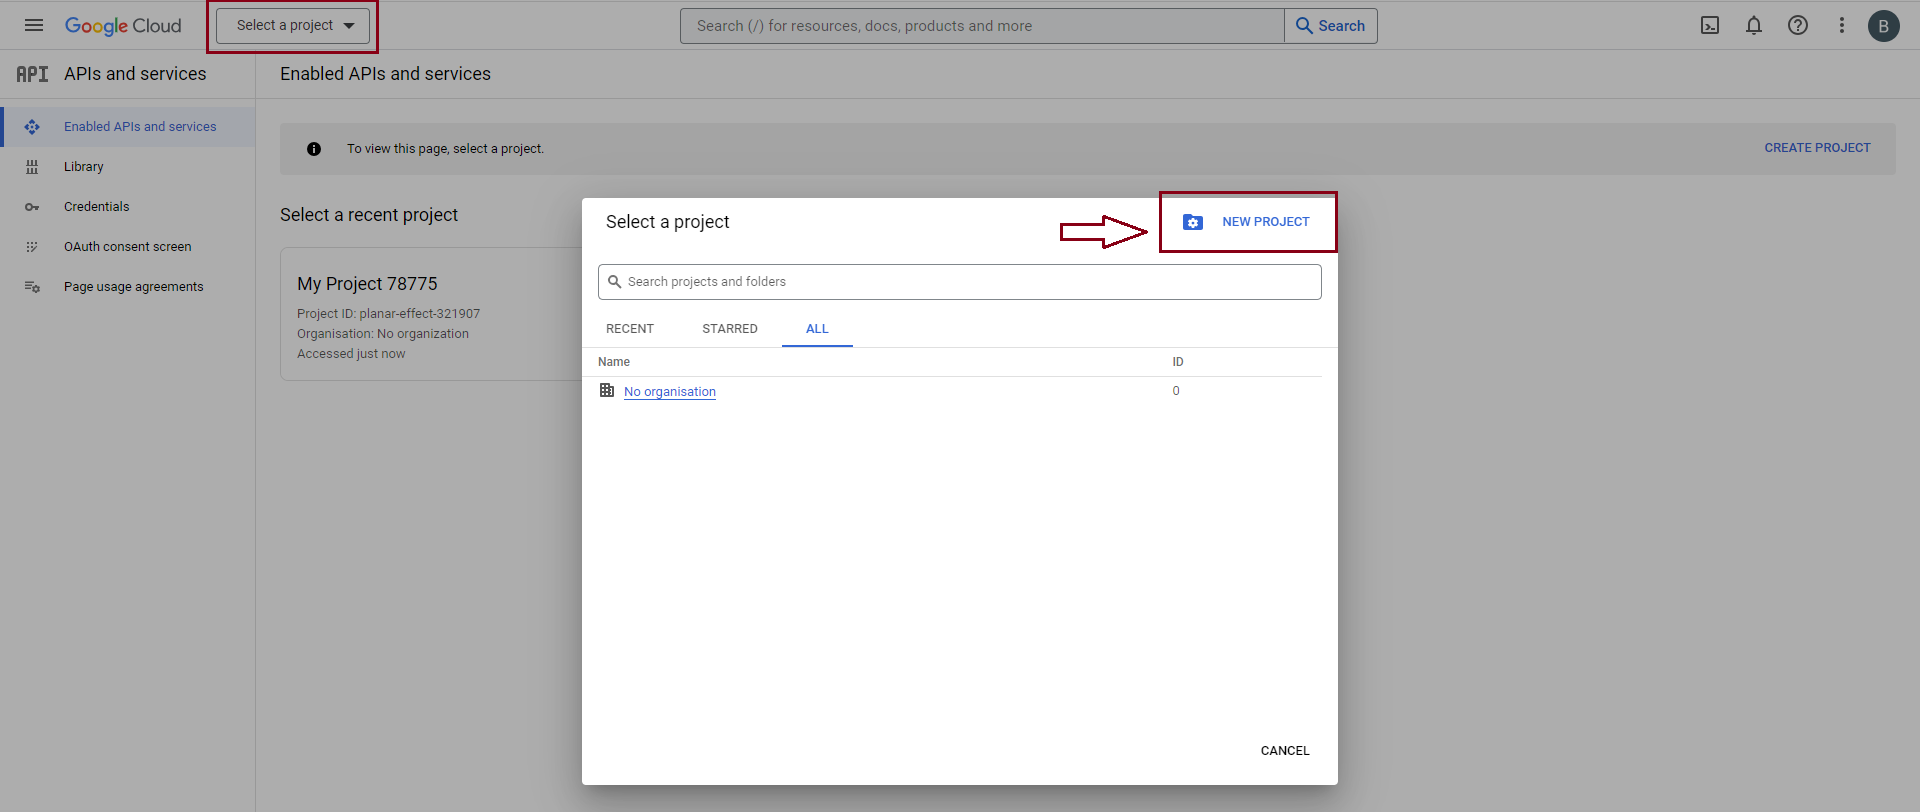
- Go to https://console.developers.google.com/ and sign in with your Google account.
- In the top bar, click Select a project > New Project.
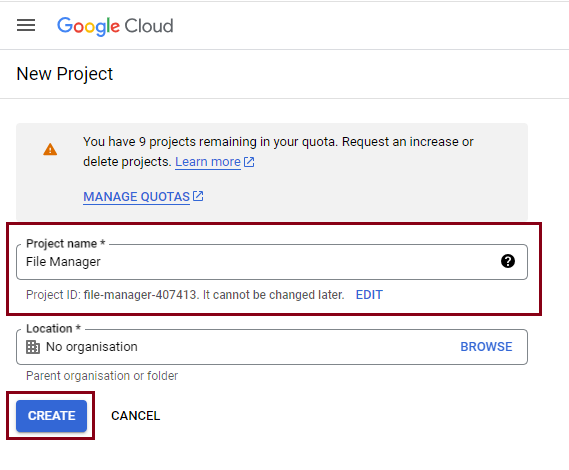
- You’ll be redirected to a New Project page. Name your project and then click Create.
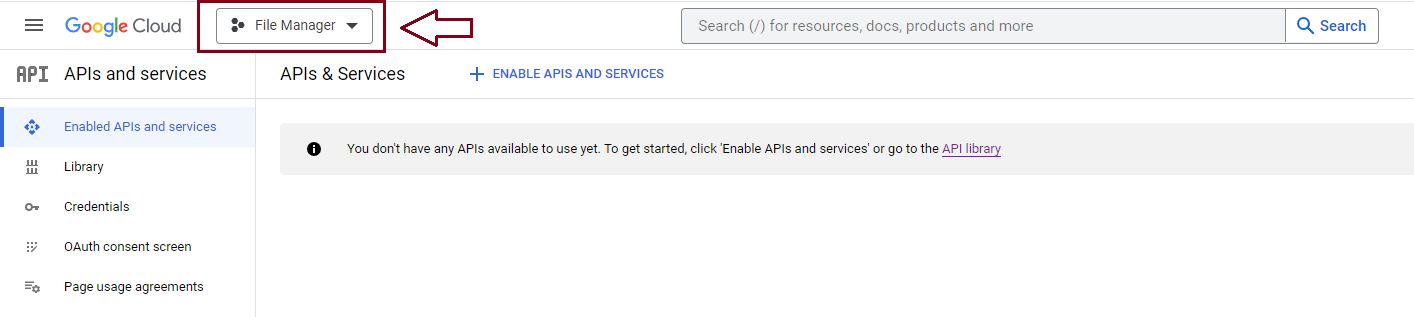
- Make sure you have selected your project in the top bar.
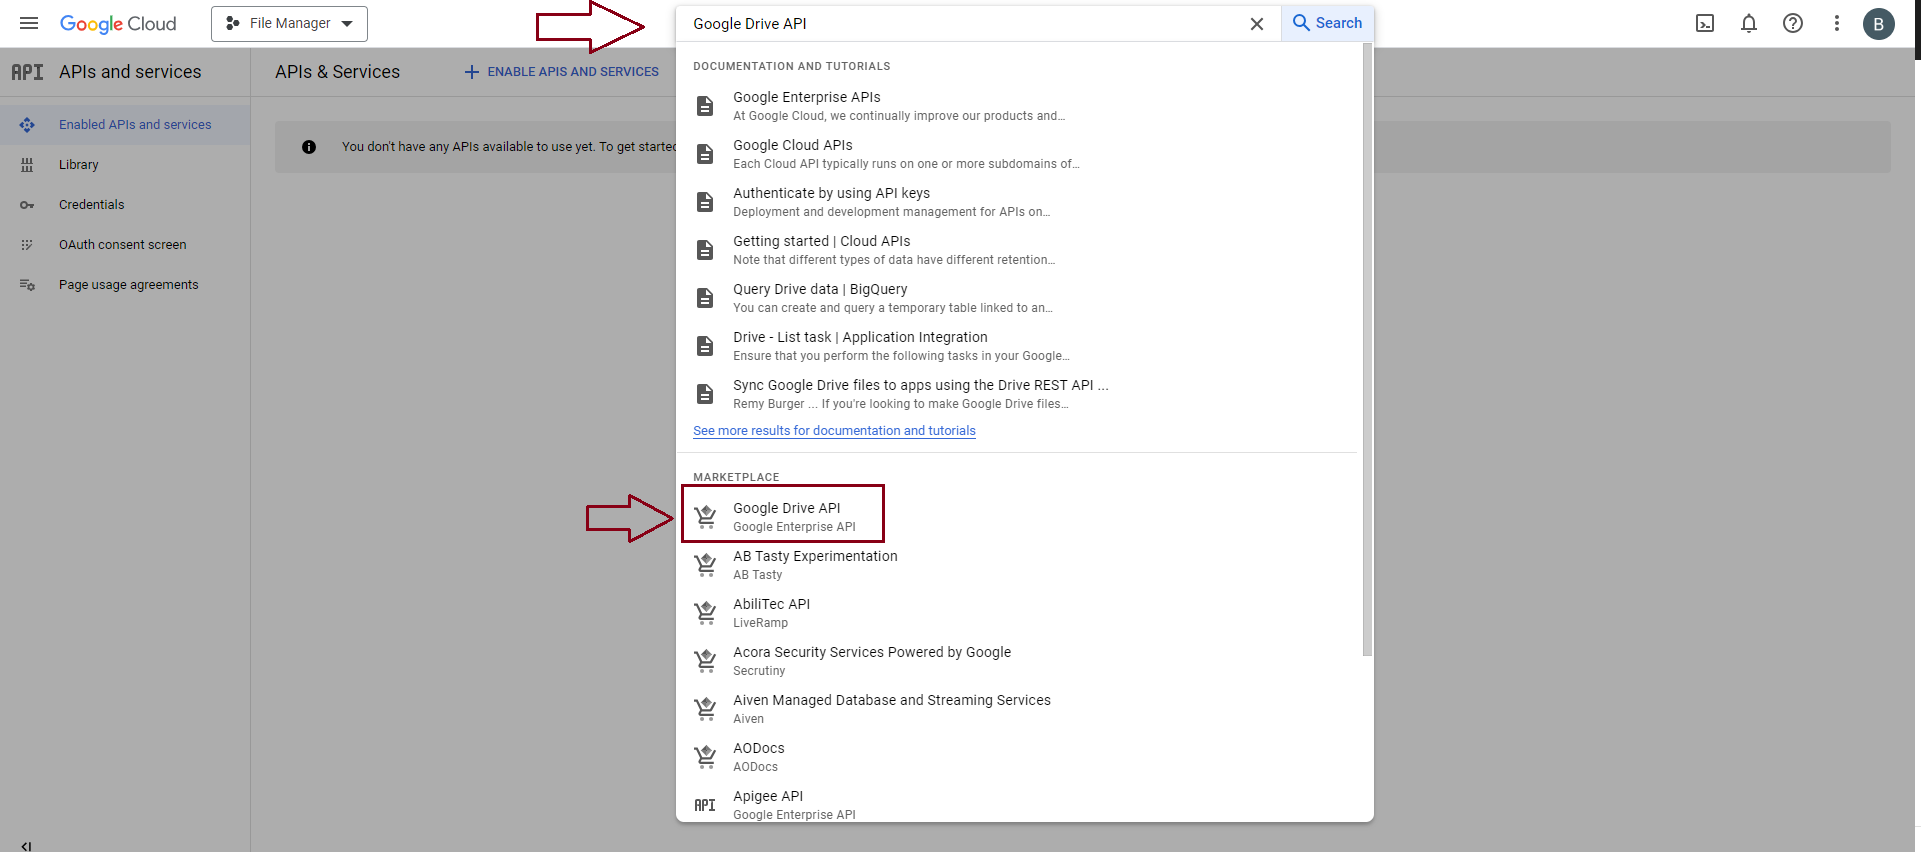
- Type Google Drive API in the search bar. When you find the API, click on it.
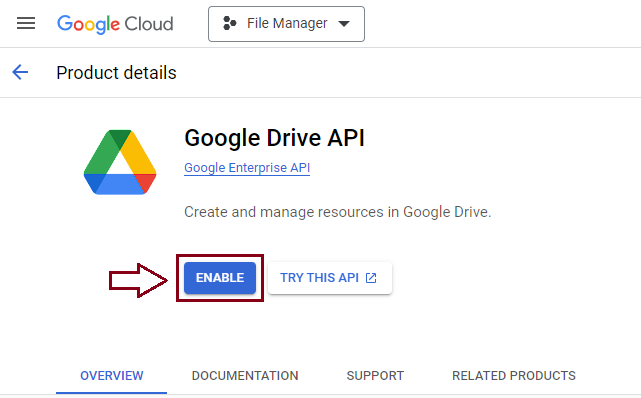
- Enable the Google Drive API to be able to connect Google Drive to your website.
- Go to Credentials.
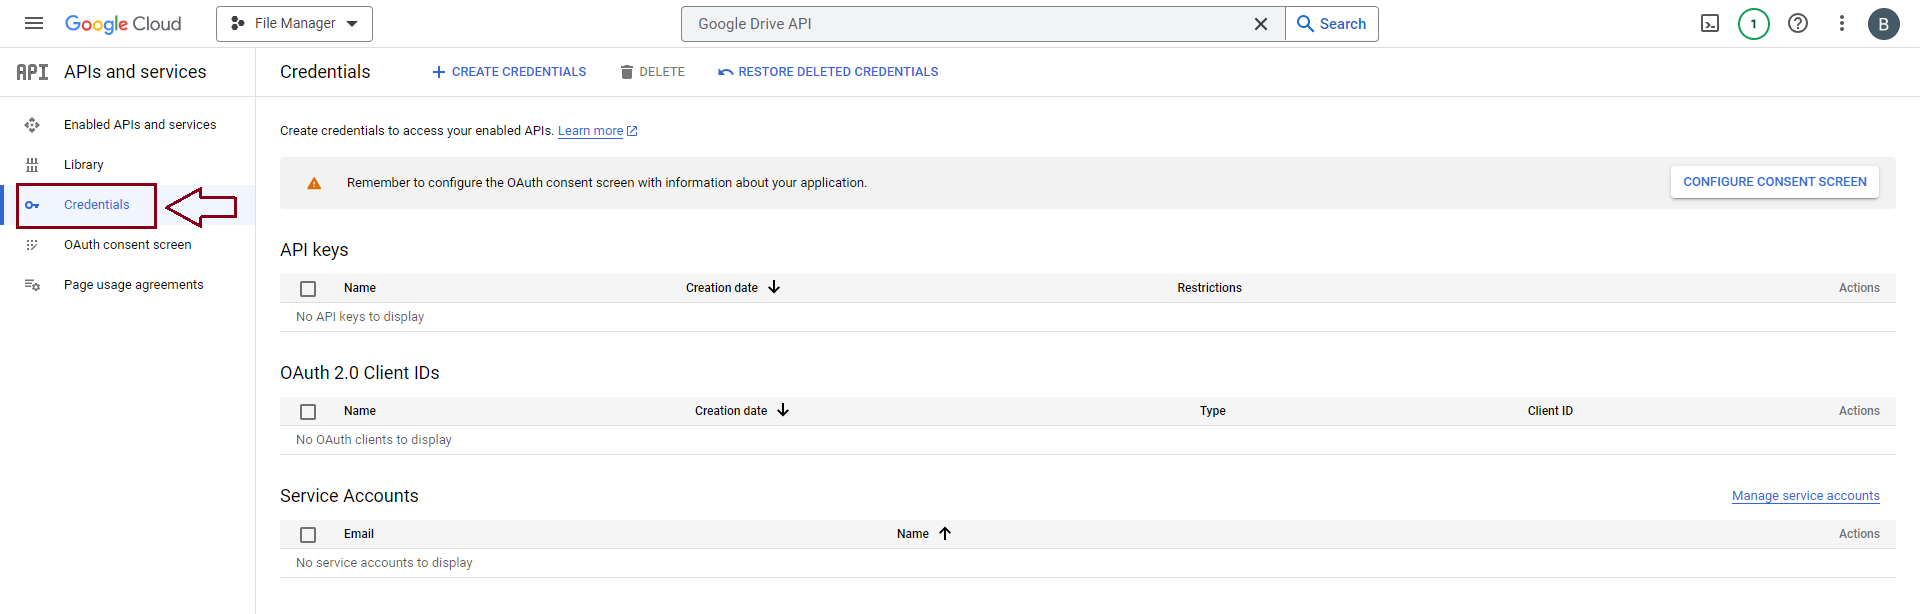
- Click on Configure Consent Screen.

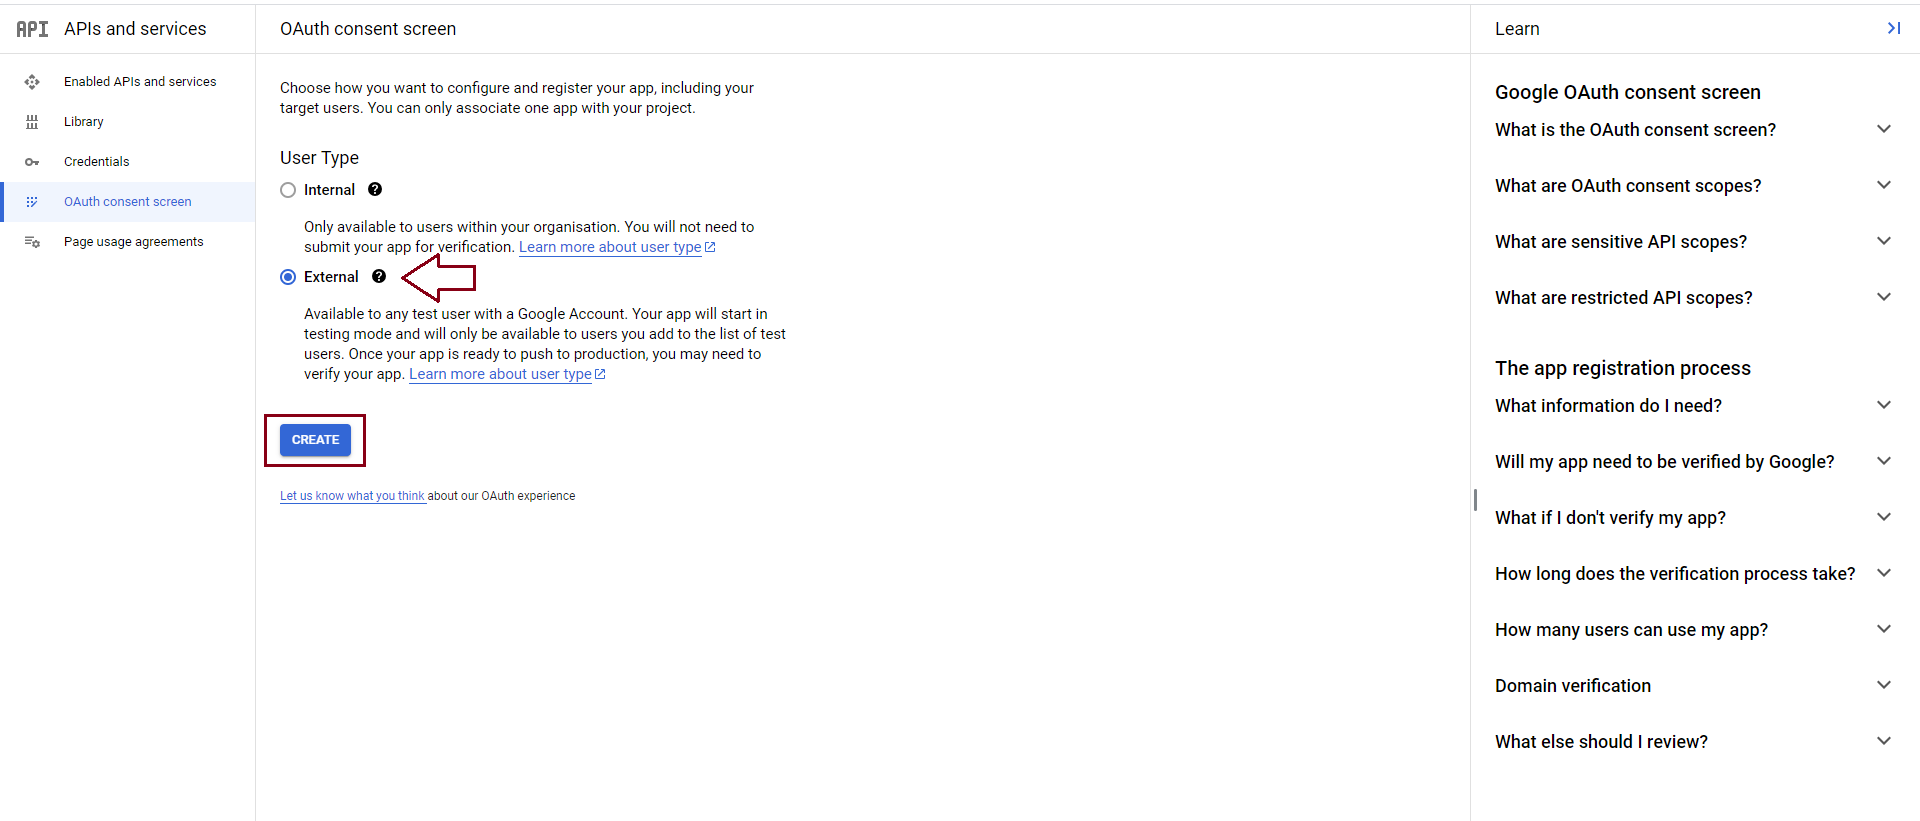
- Choose the user type. In this case, you’ll have to tick the External box and click on Create.
- Add an App Name, User support email, and Developer contact information. Then, click Save & Continue.
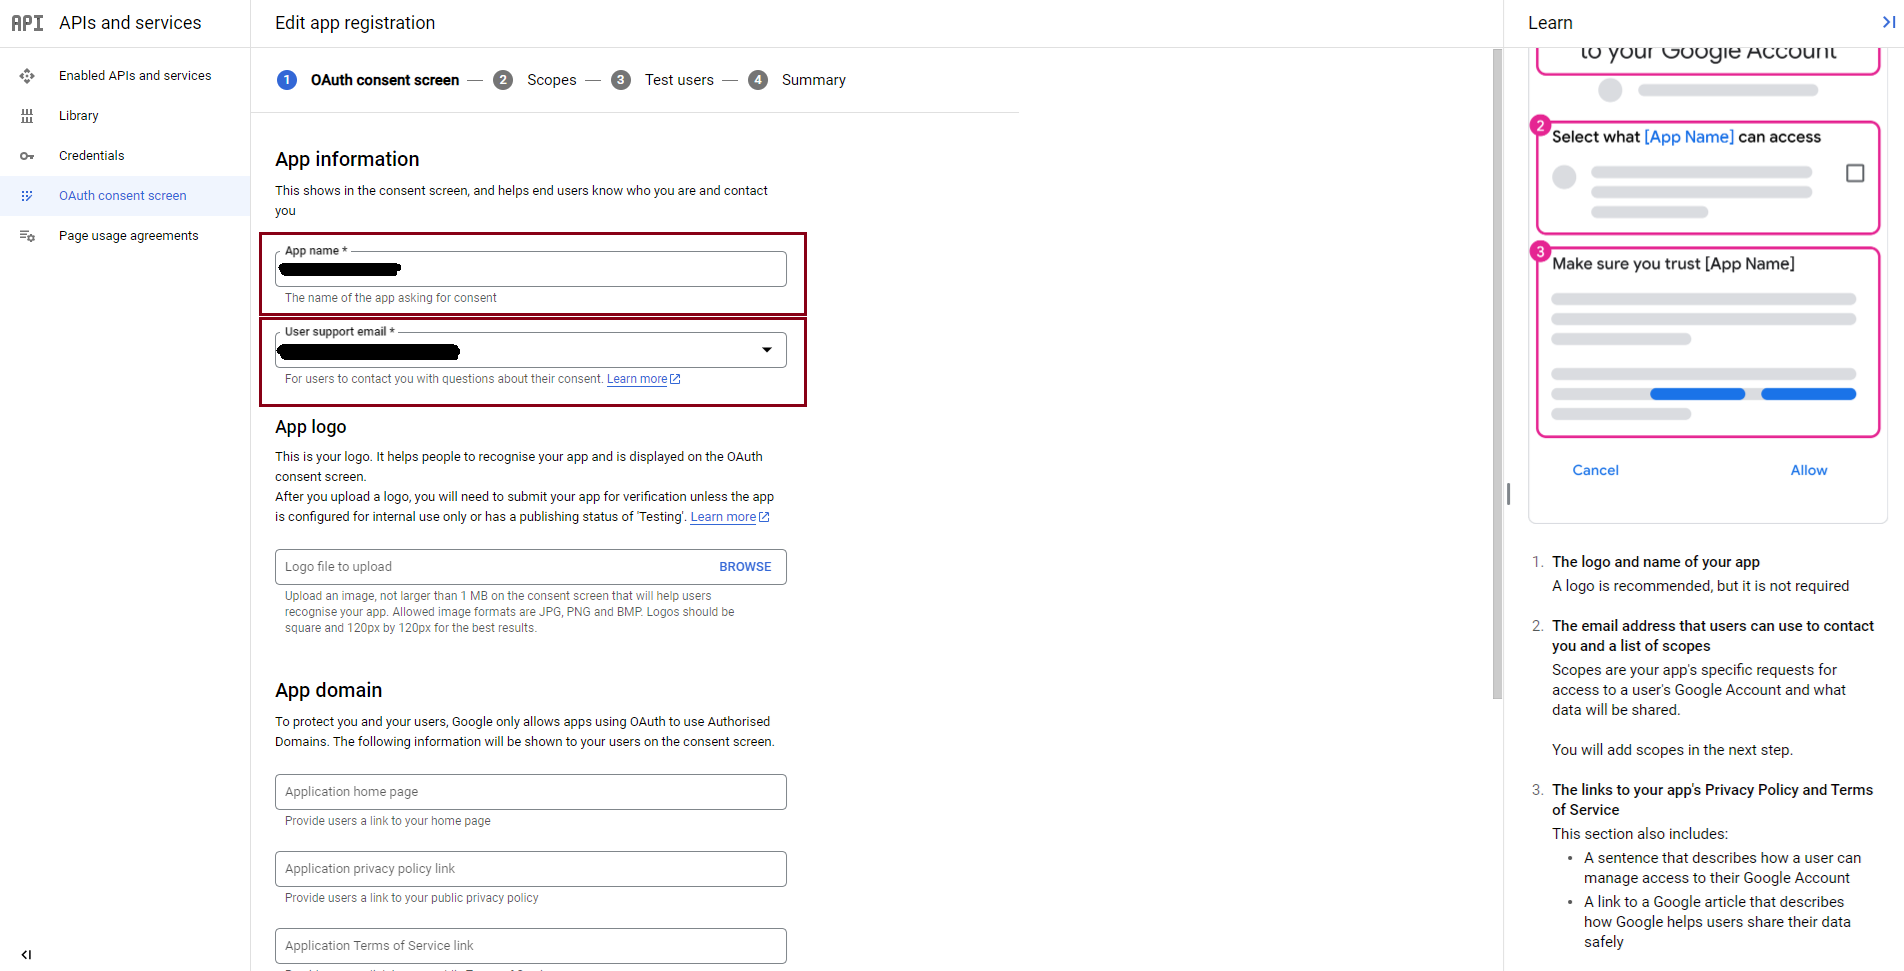
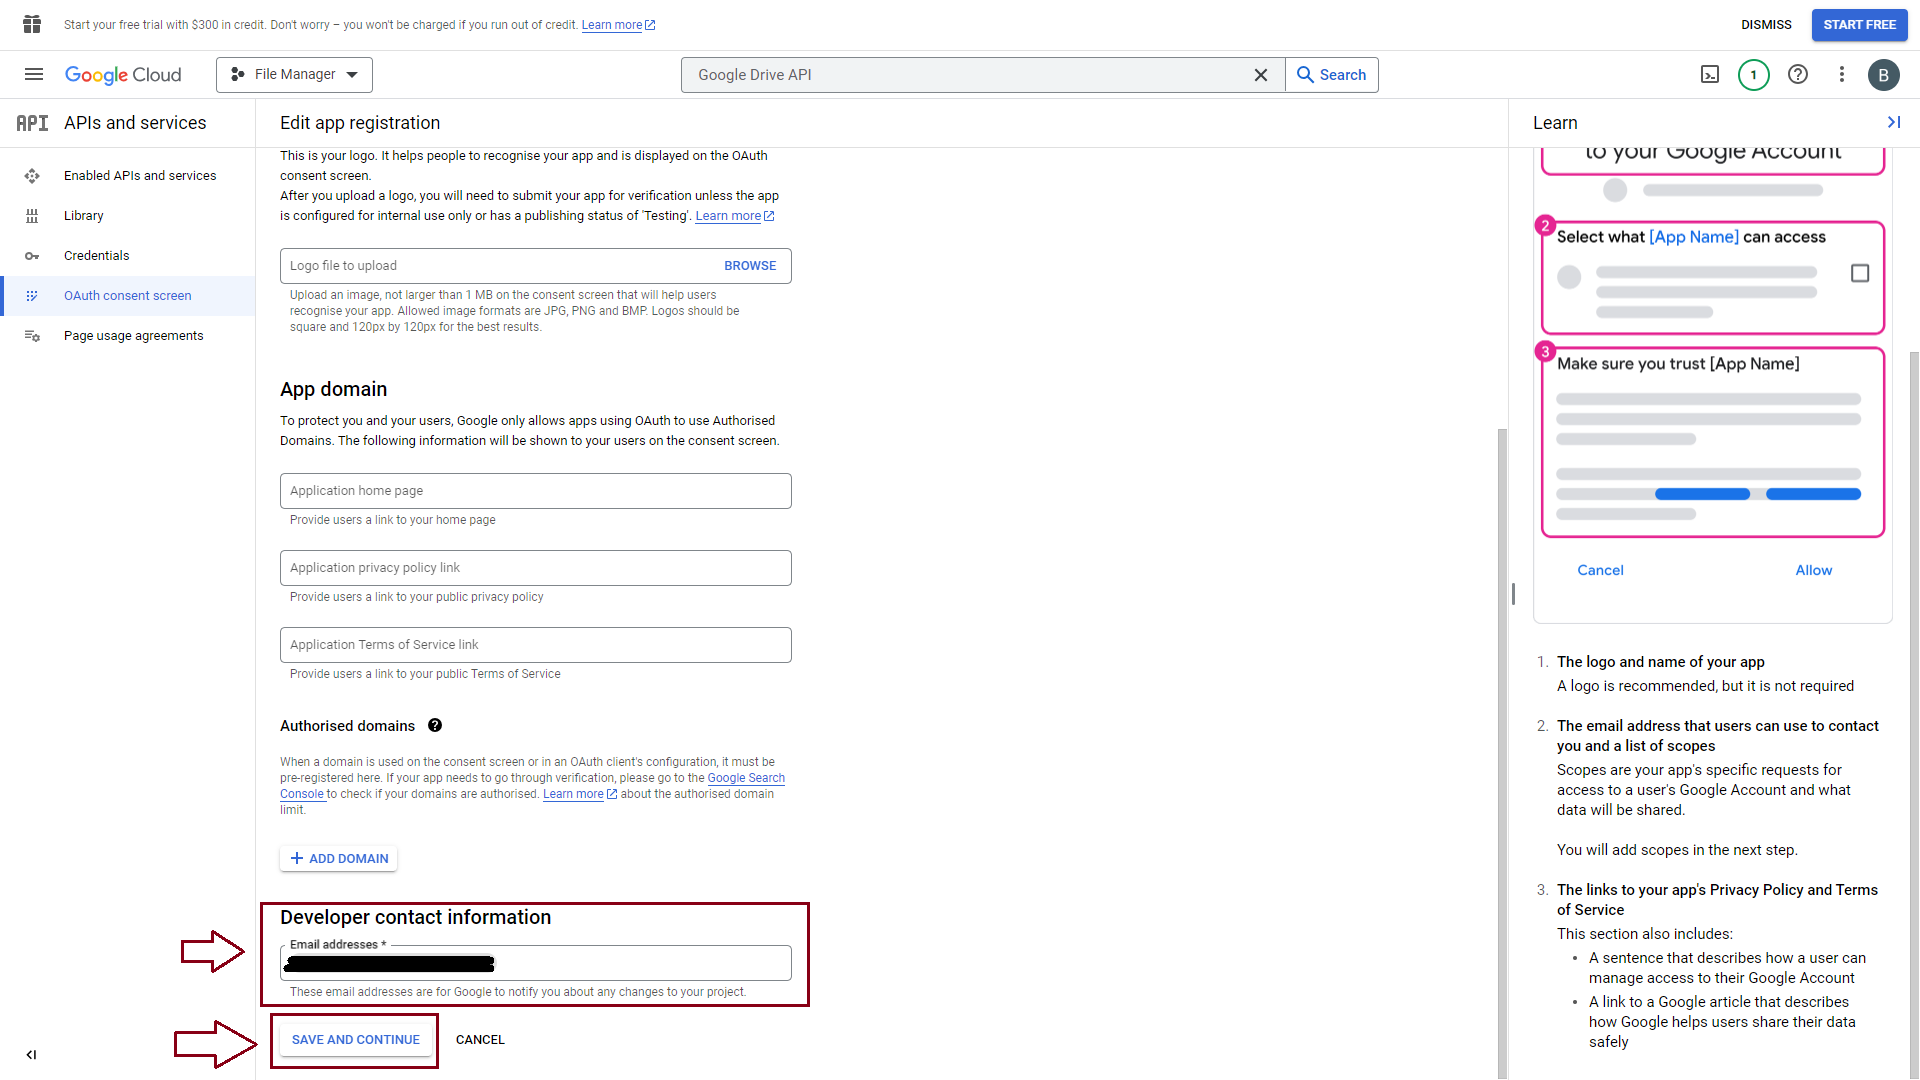
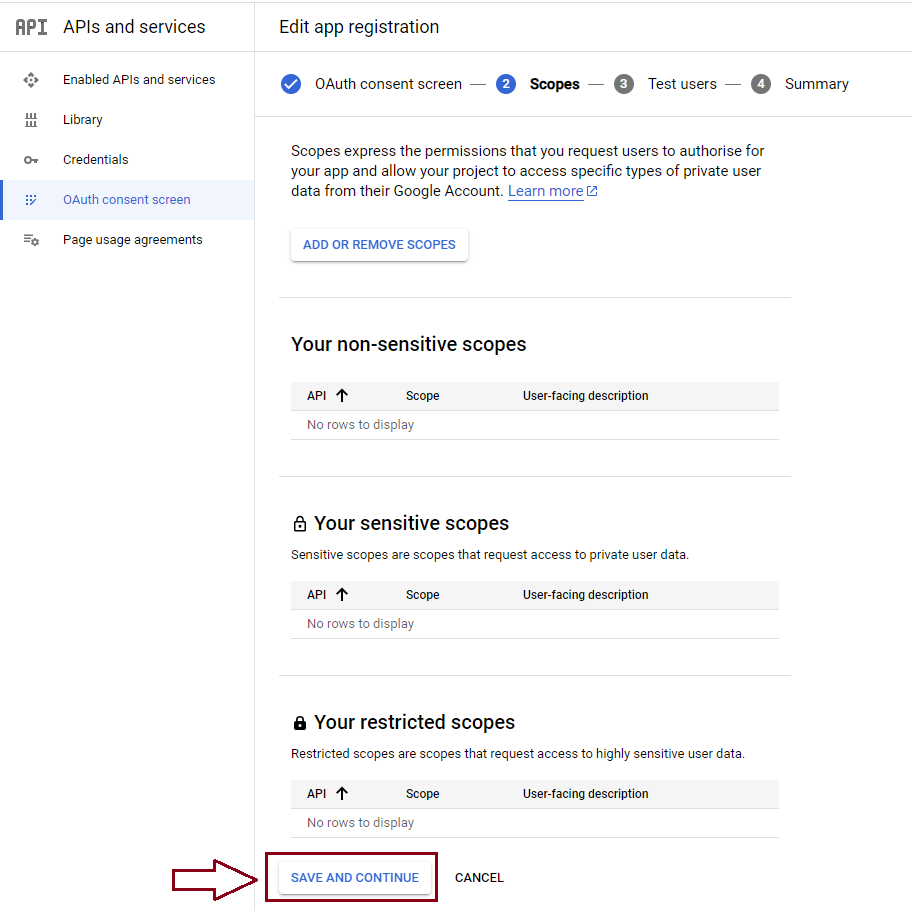
- Click Save&Continue. You’ll be redirected to your Dashboard.
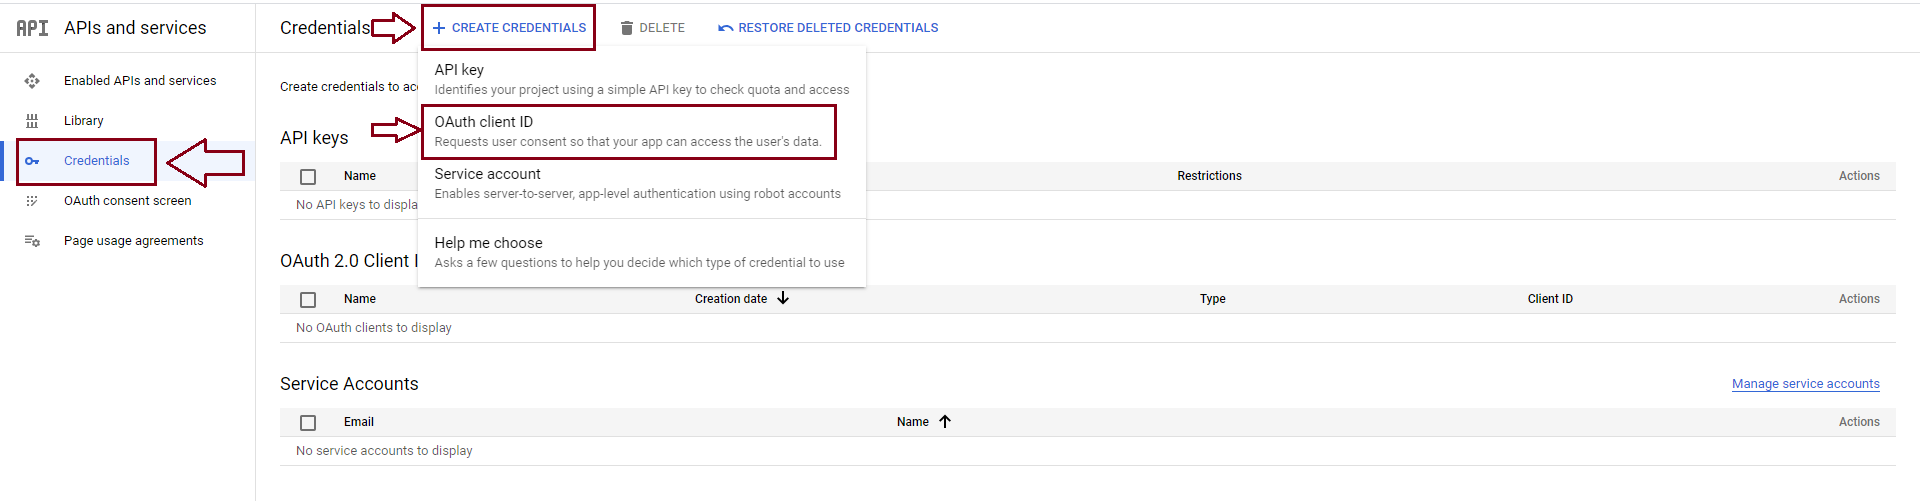
- After enabling the Google Drive API, click on Credentials > Create Credentials > OAuth client ID.
- In this step, you need to add more information:
– Choose Application Type: Web Application
– Name
– Authorized JavaScript origins: https://yourdomain.com
– Authorized redirect URIs: https://yourdomain.com/wp-admin/edit.php?post_type=dlm_download&page=download-monitor-settings&tab=external_hosting&action=oauth_redirect
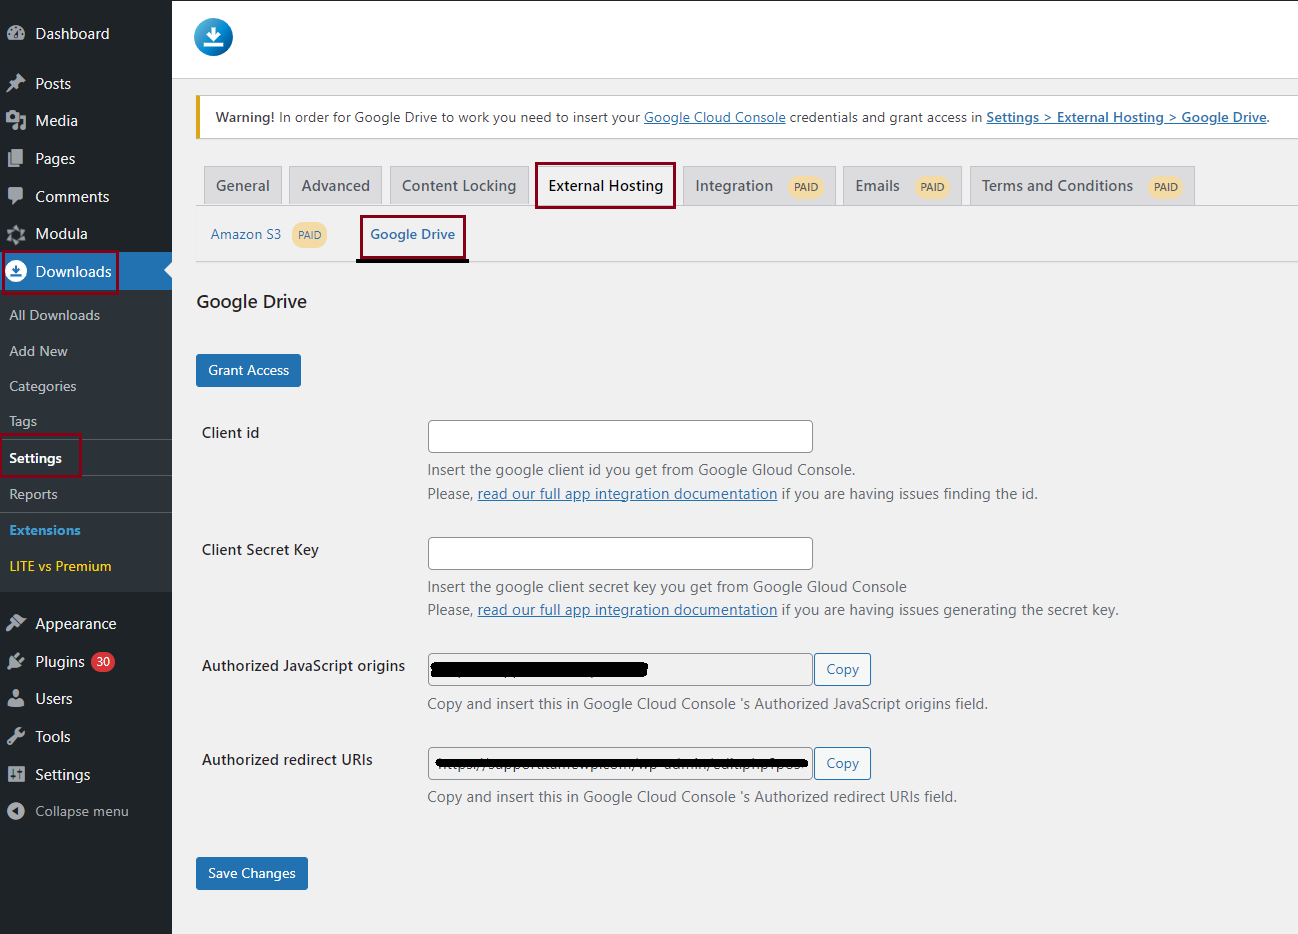
Note: You can find the Authorized Javascript origins and Authorized redirect URIs which need to be added here by going to your WordPress dashboard > Downloads > Settings > External Hosting > Google Drive > copy them from there.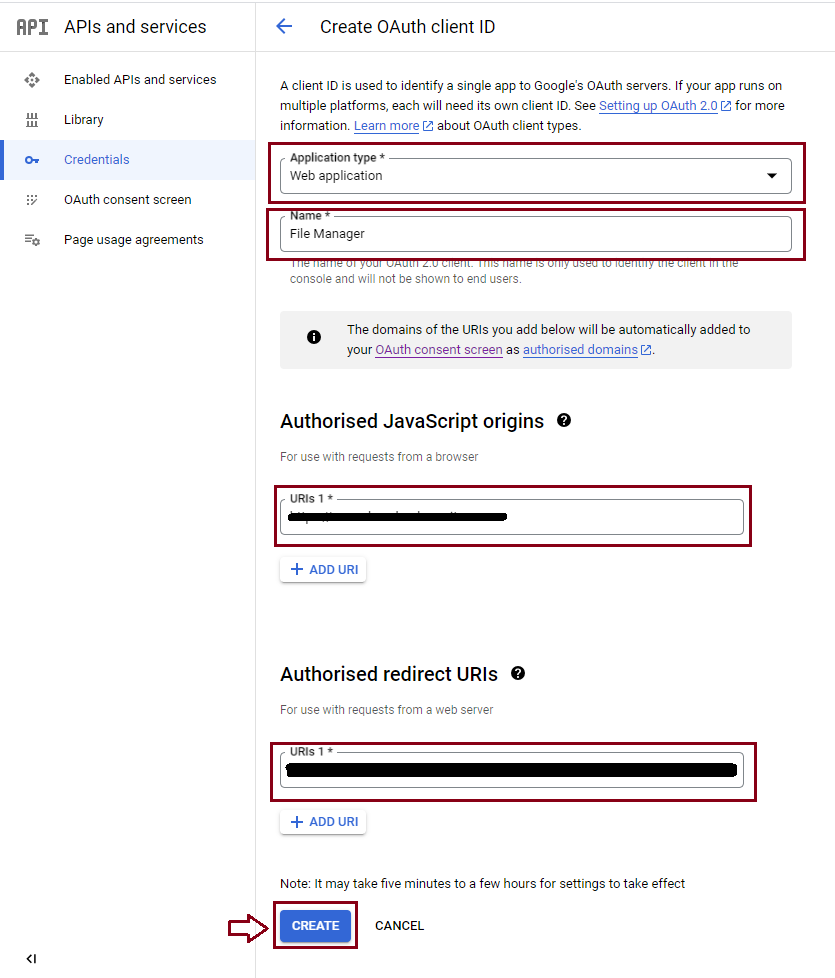
A window with Your Client ID and Your Client Secret will appear so please make sure to copy them because you will need them later.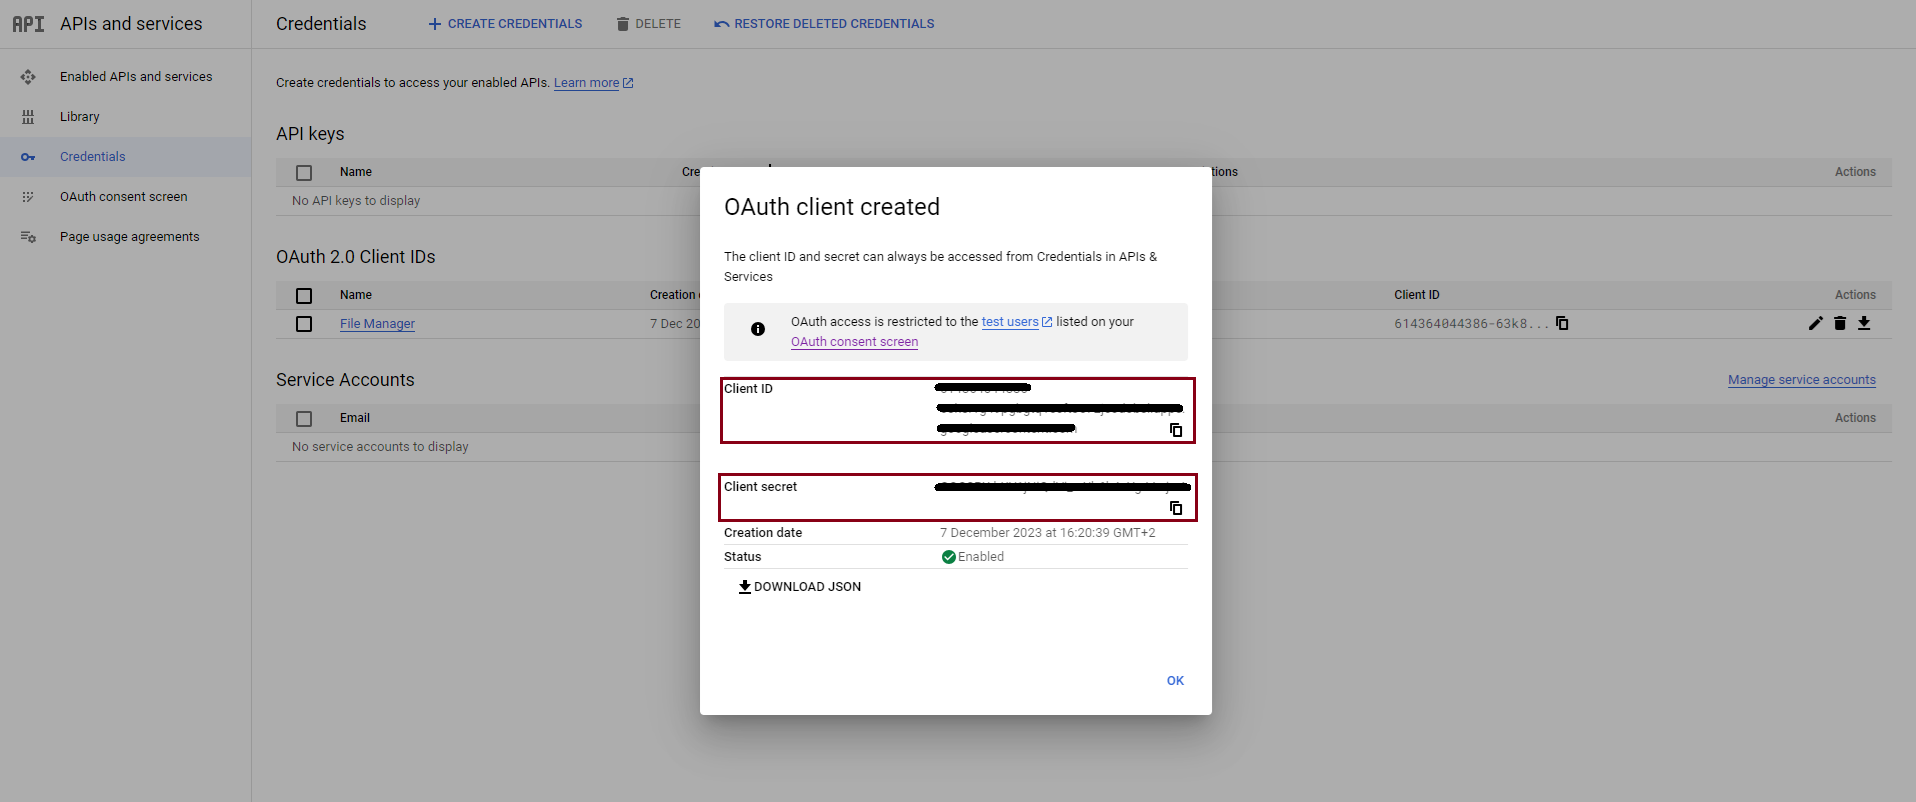
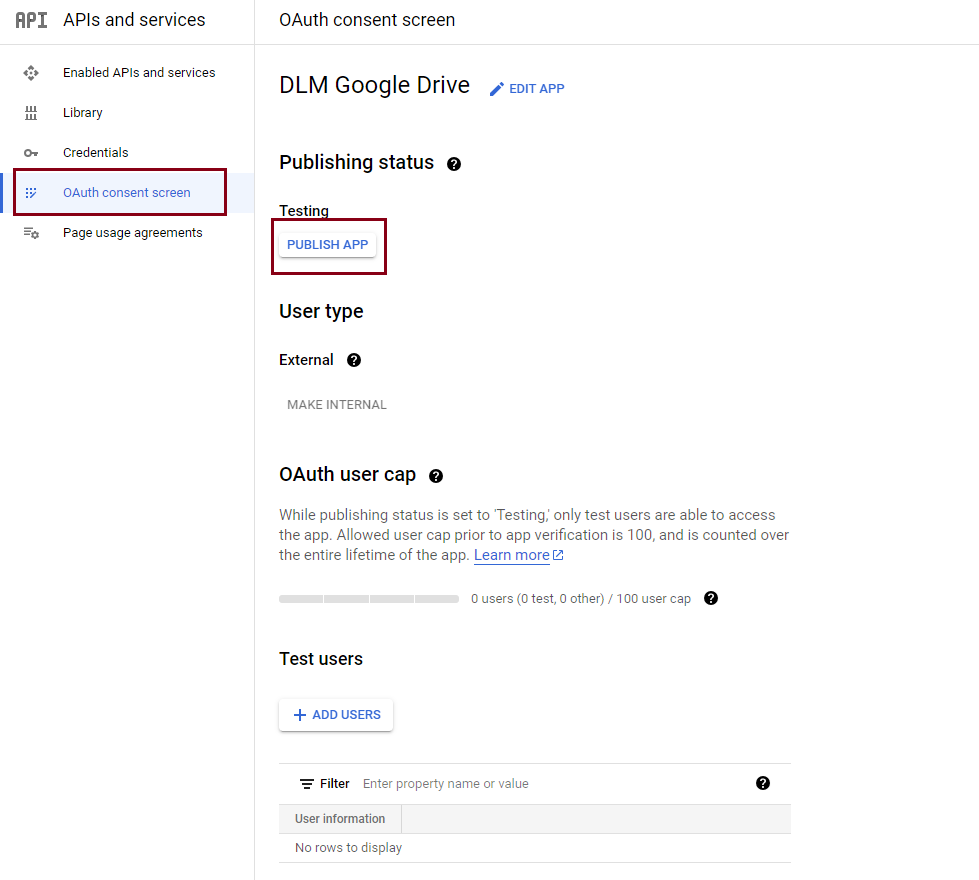
- Go to your Google Console > OAuth consent screen > click on PUBLISH APP.
- Go to your WordPress Dashboard > Downloads > Settings > External Hosting. Here you’ll see two fields that ask you to add the client ID and client secret key.
- Copy the keys created earlier and paste them into these fields.
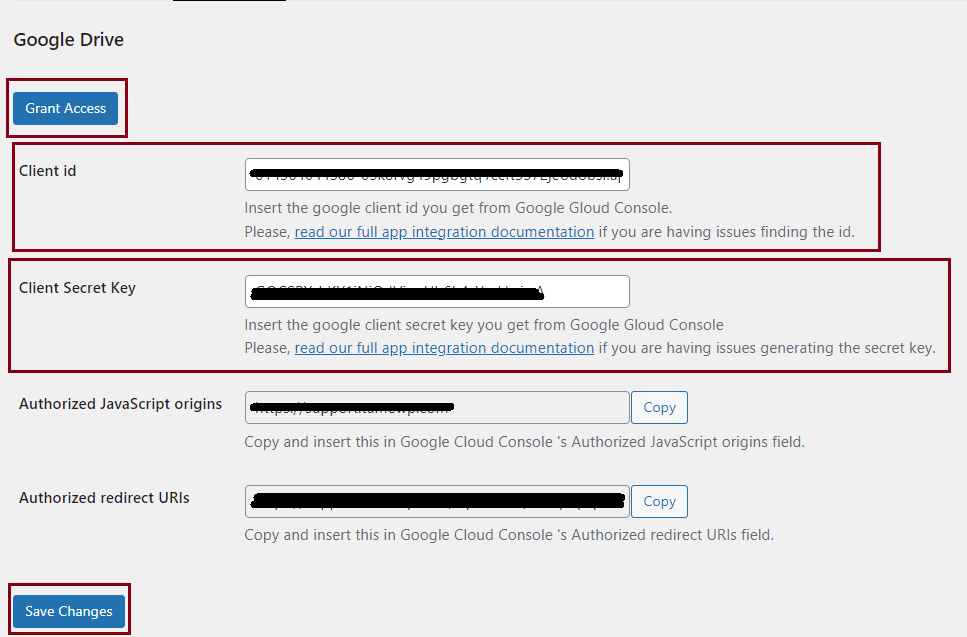
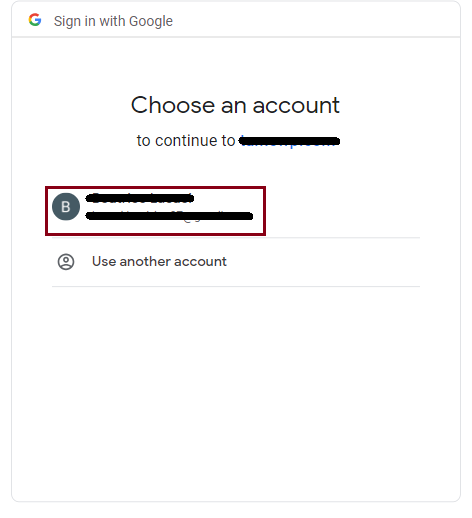
- Click Save Changes and then Grant Access. You’ll be redirected to sign in to your Google account.
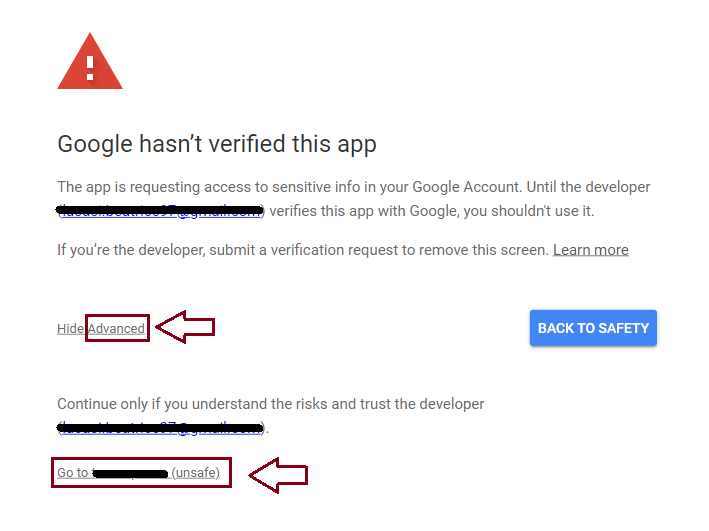
- You will need to verify this app. Click on Advanced > Go to yourdomain.com (unsafe)
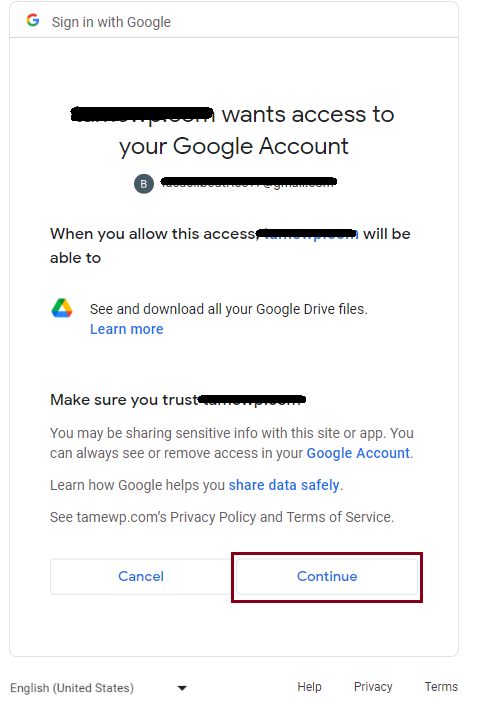
- You will need to grant access to your Google Account
You can now start using your Google Drive files on your website.
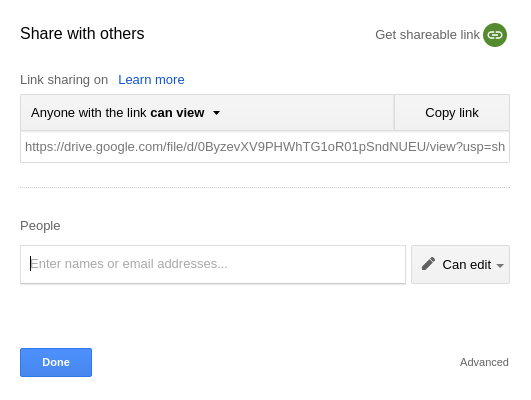
Setting the Correct Sharing Type
When sharing your Google Drive file, you can set the way you want to share the file. You can choose to share your files with Anyone with the link or Public on the web.

Anyone with the link
This is the preferred way of sharing your file. It will make the file parse-able by Download Monitor while not allowing indexation of the URL.
Usage
To add files from Google Drive to your website with Download Monitor, go to your WordPress Dashboard > Downloads > Add New > Add File and click on Browse Google Drive.
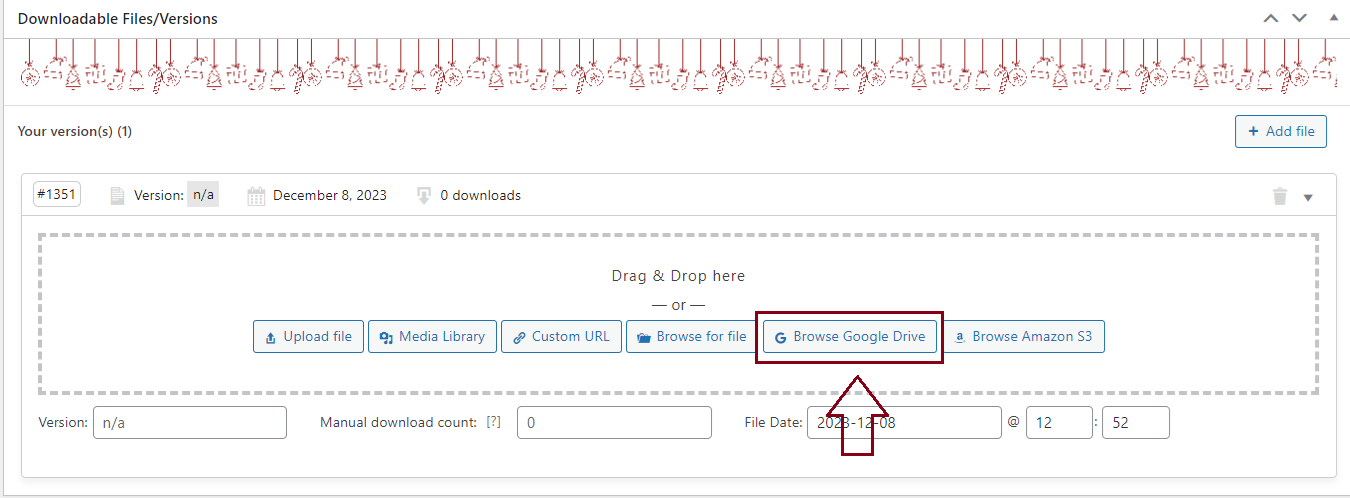
Then, you can start looking through the files and adding them to the Download Monitor.
FAQ
You can use the default Google Drive sharing URL.
Unfortunately, we can no longer avoid this virus scanner notification because Google deprecated the way we were using it. The virus scanner notification will always be displayed for larger files that Google can’t scan.