Are you ready to use Download Monitor to add your first download? You will have a live download in no time if you follow the step-by-step instructions in this guide.
Prerequisites
Before proceeding, ensure that you have:
- A working WordPress website.
- Download Monitor plugin installed and activated.
Steps to add your download
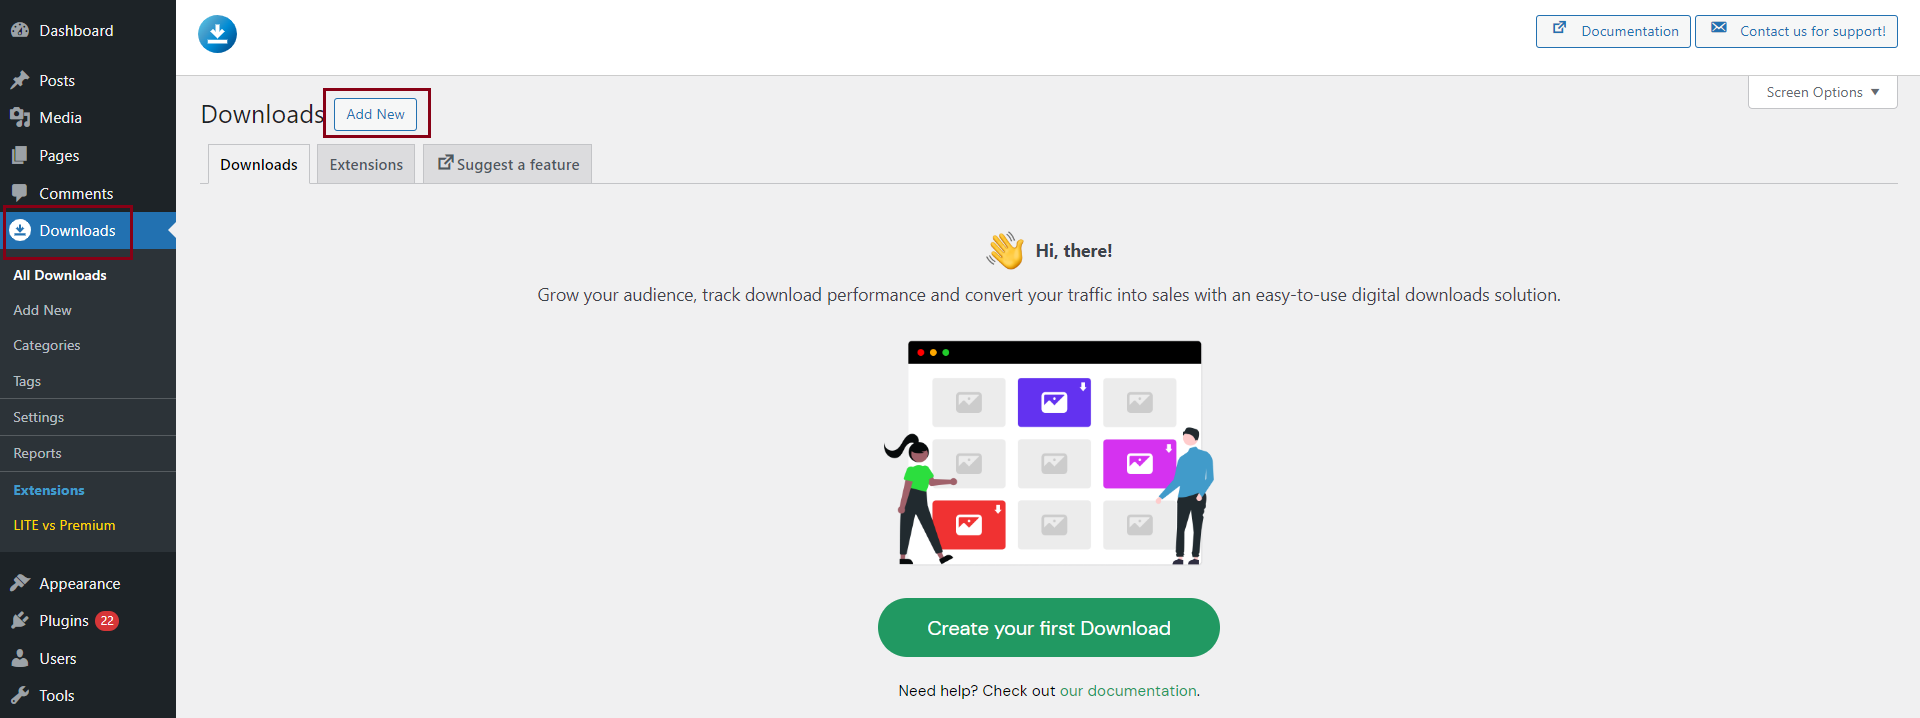
- To begin, you’ll need to be logged into your WordPress admin area. Once there, you will see a Downloads section in your Dashboard. Once you click the Downloads section, you will see an Add new button. Click it to begin adding your first file.
- You will see that creating a download has a similar interface to posting posts and pages. Give your download a name and some content (if necessary). In the Downloadable Files/Versions section, you can begin uploading your files beneath the content area.
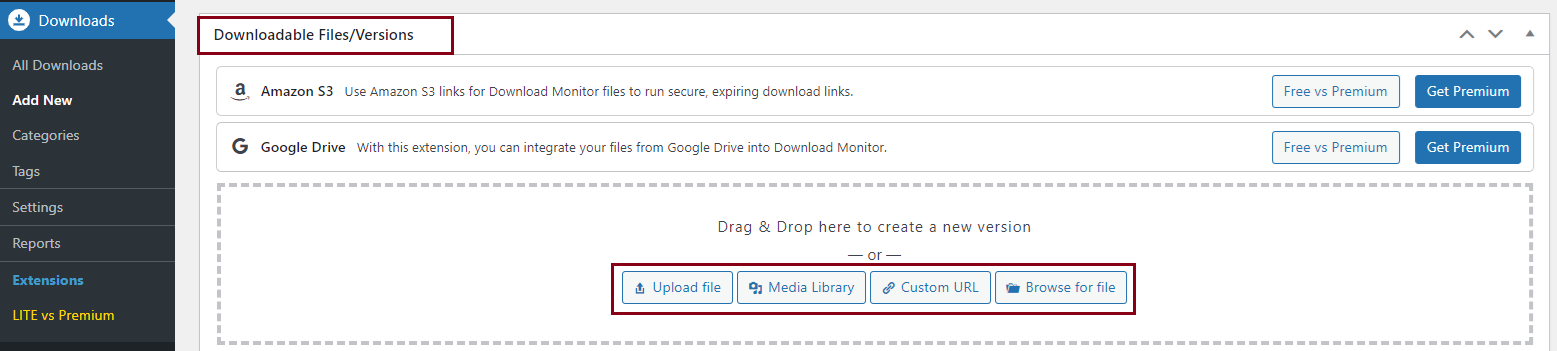
The files can be uploaded from your computer or by adding them in the cloud and linking them (using Amazon S3 and Google Drive extensions – both Download Monitor PRO extensions) - Once you are happy with all the settings and options, you can scroll up and hit the Publish button on the right side.
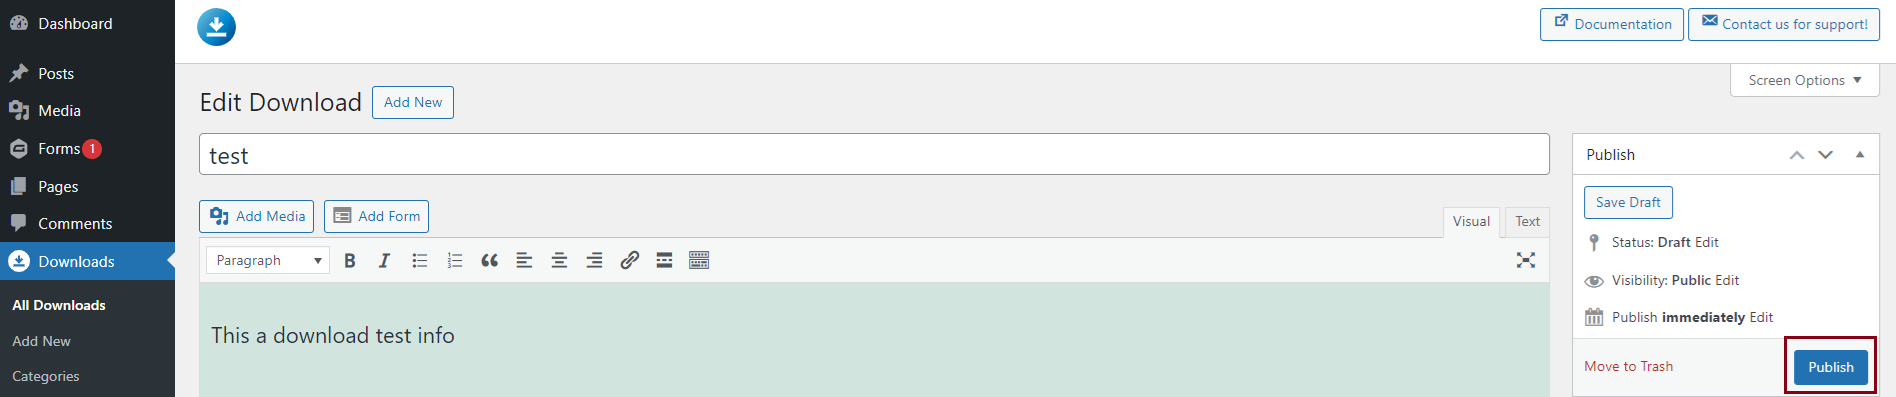
And this is how you create your first downloadable content on your WordPress website.