Starting with the 4.7.76 version of our plugin we removed the shop feature. However, if you want to enable it, you can simply do it by implementing a custom code snippet. In this documentation article, we will guide you through the process of enabling the shop tab in your settings using a code snippet.
Before you proceed, ensure that you have the following:
- A WordPress website with Download Monitor installed and activated.
- Administrator access to your WordPress dashboard.
- Basic knowledge of working with WordPress and code snippets.
We recommend that you do a back-up of your site before making any changes.
The easiest way to backup and export your WordPress site is to use a backup plugin, like BlogVault. Once the plugin is installed, BlogVault syncs your entire site with its servers. Then you can download the backup to your local drive, or save it to a cloud service like Dropbox or Google Drive as per your preferences.
You can download the plugin from here
Step-by-Step guide
- Access Your WordPress Dashboard
Log in to your WordPress website’s dashboard using your administrator credentials. - Navigate to the Theme Editor
In the WordPress dashboard, go to “Appearance” and select “Theme File Editor.”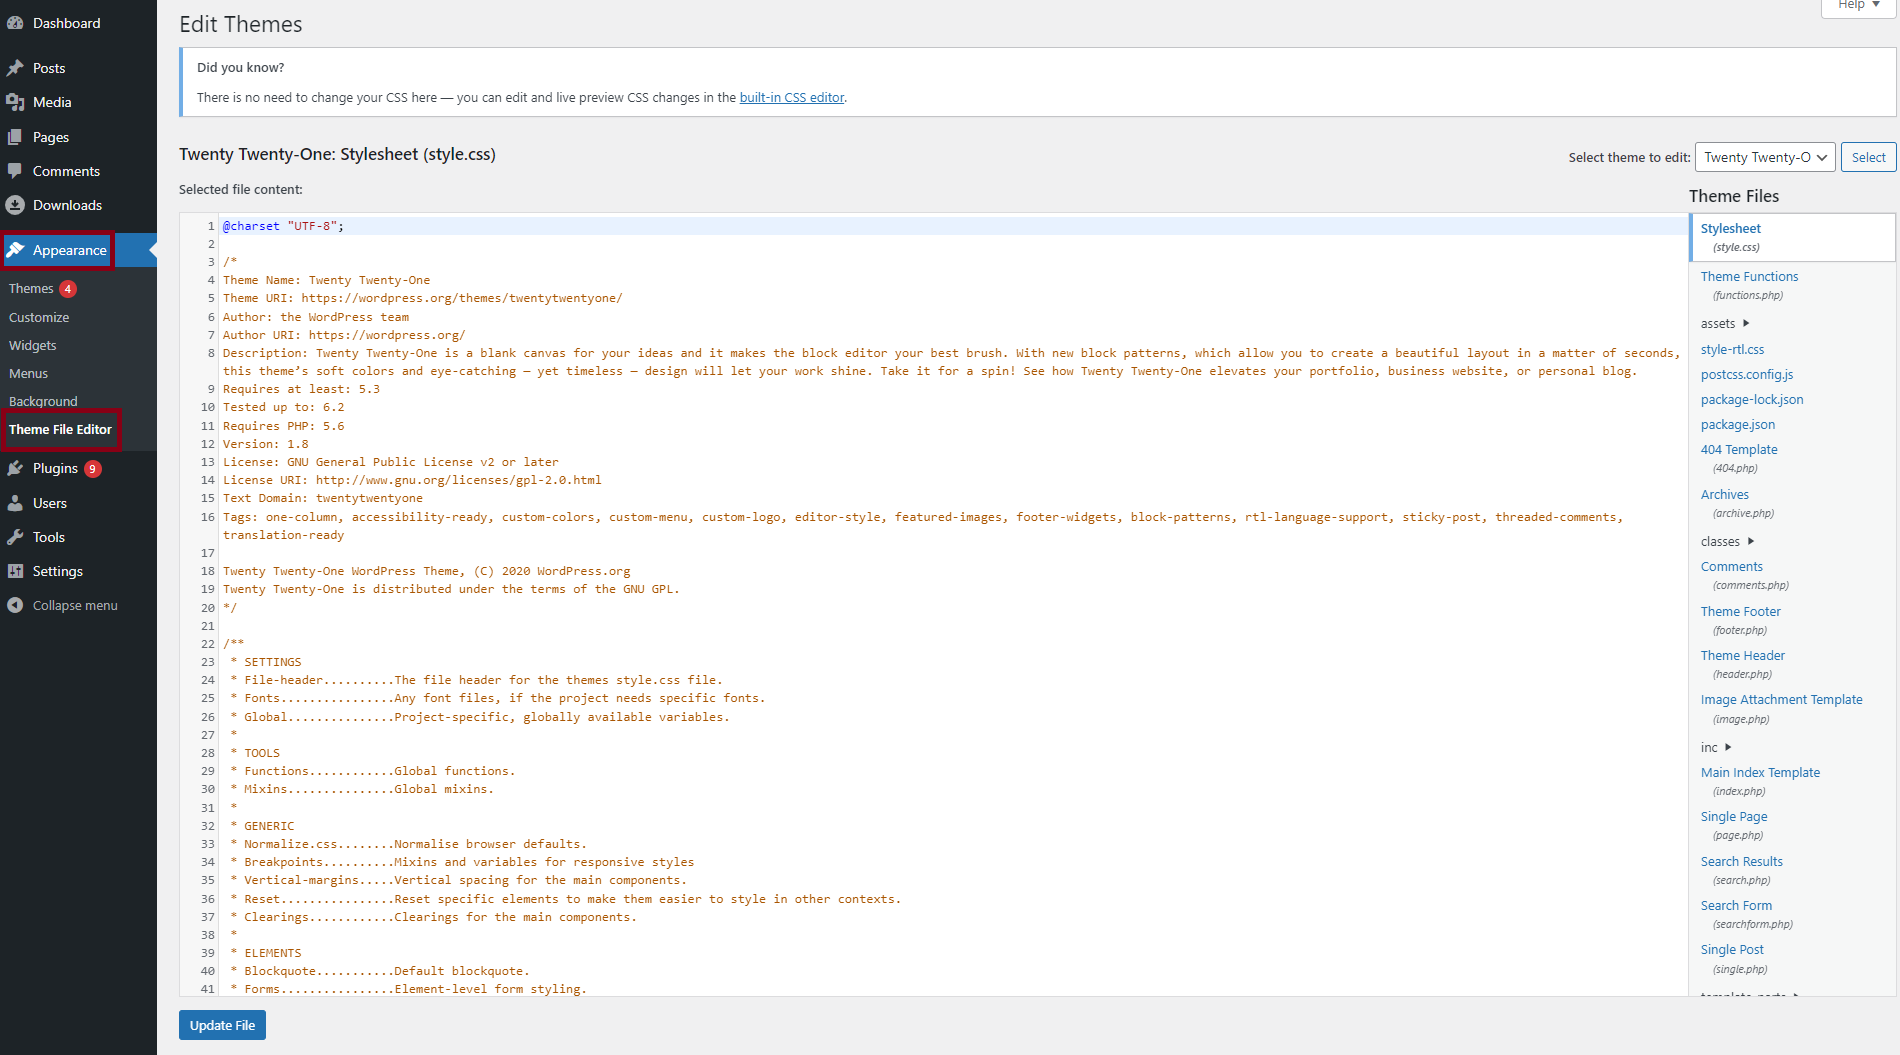
- Edit the Functions.php File
In the Theme Editor, locate and select thefunctions.phpfile on the right-hand side. This file contains your theme’s custom functions.
Note: We recommend adding the code snippet in your child theme functions.php folder so you will not lose the changes in the next update.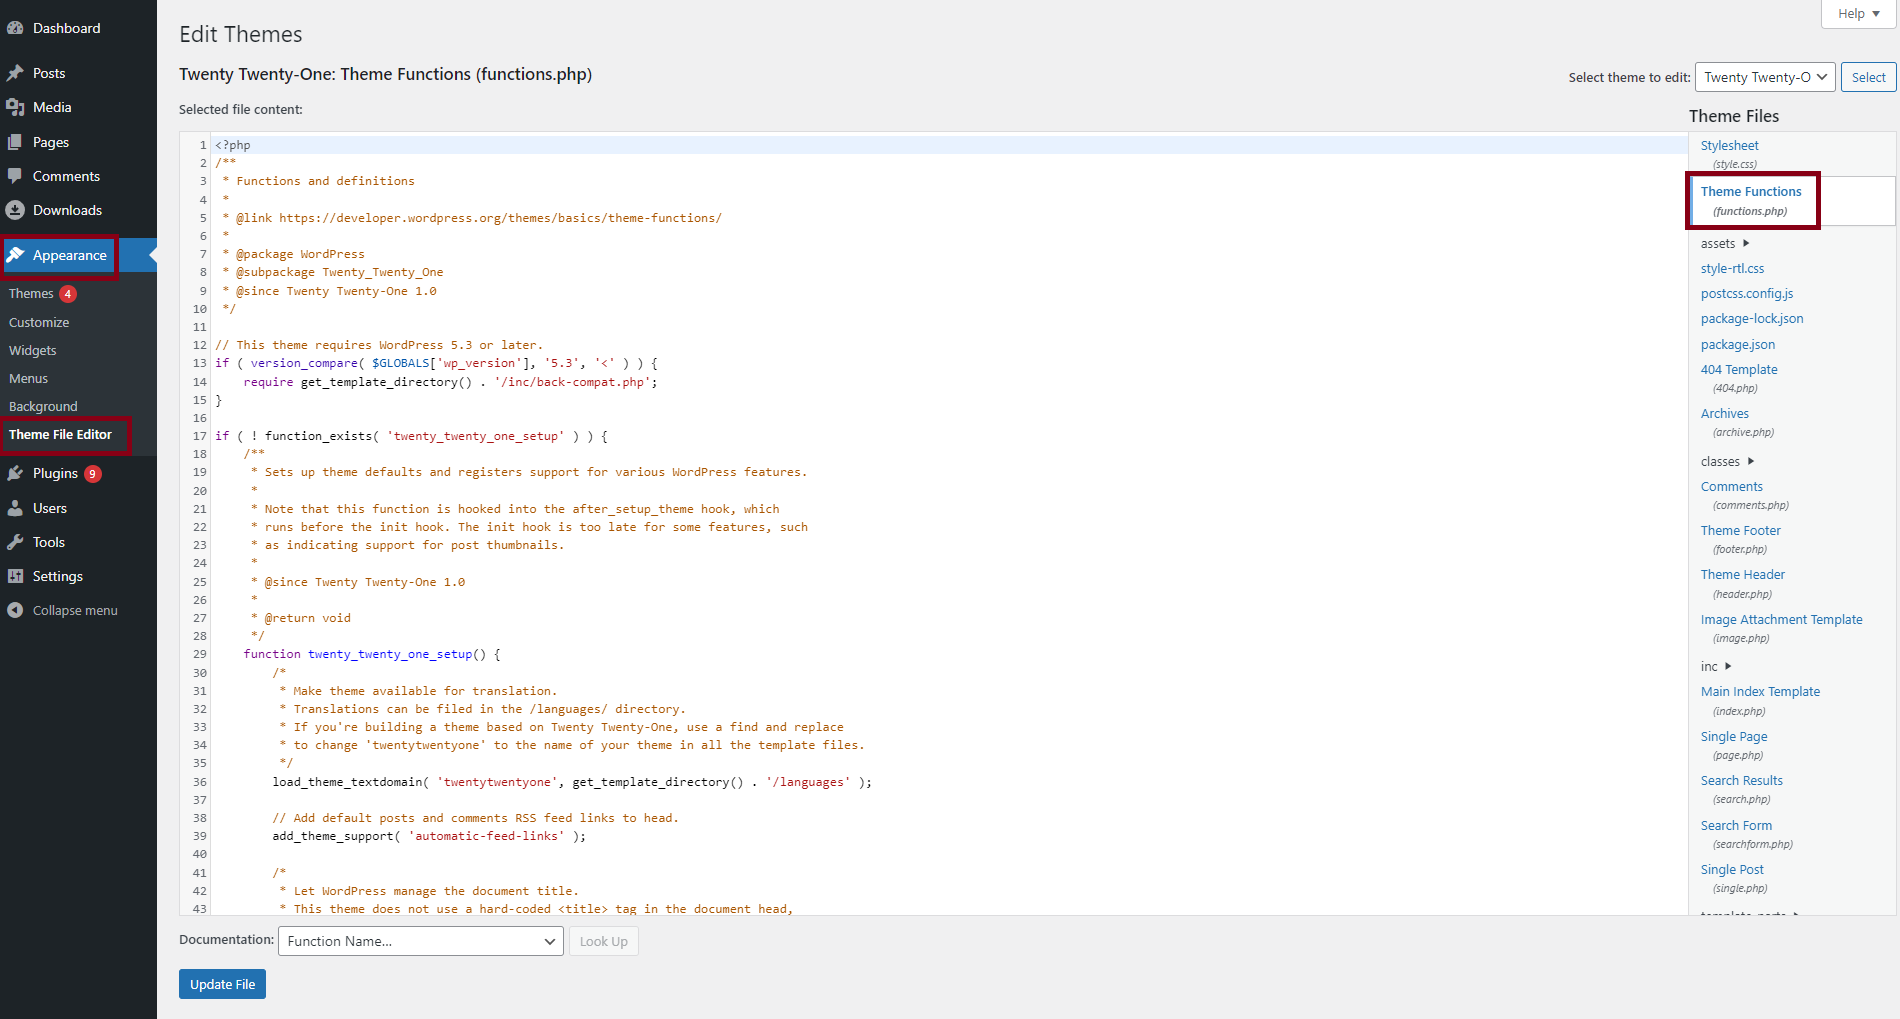
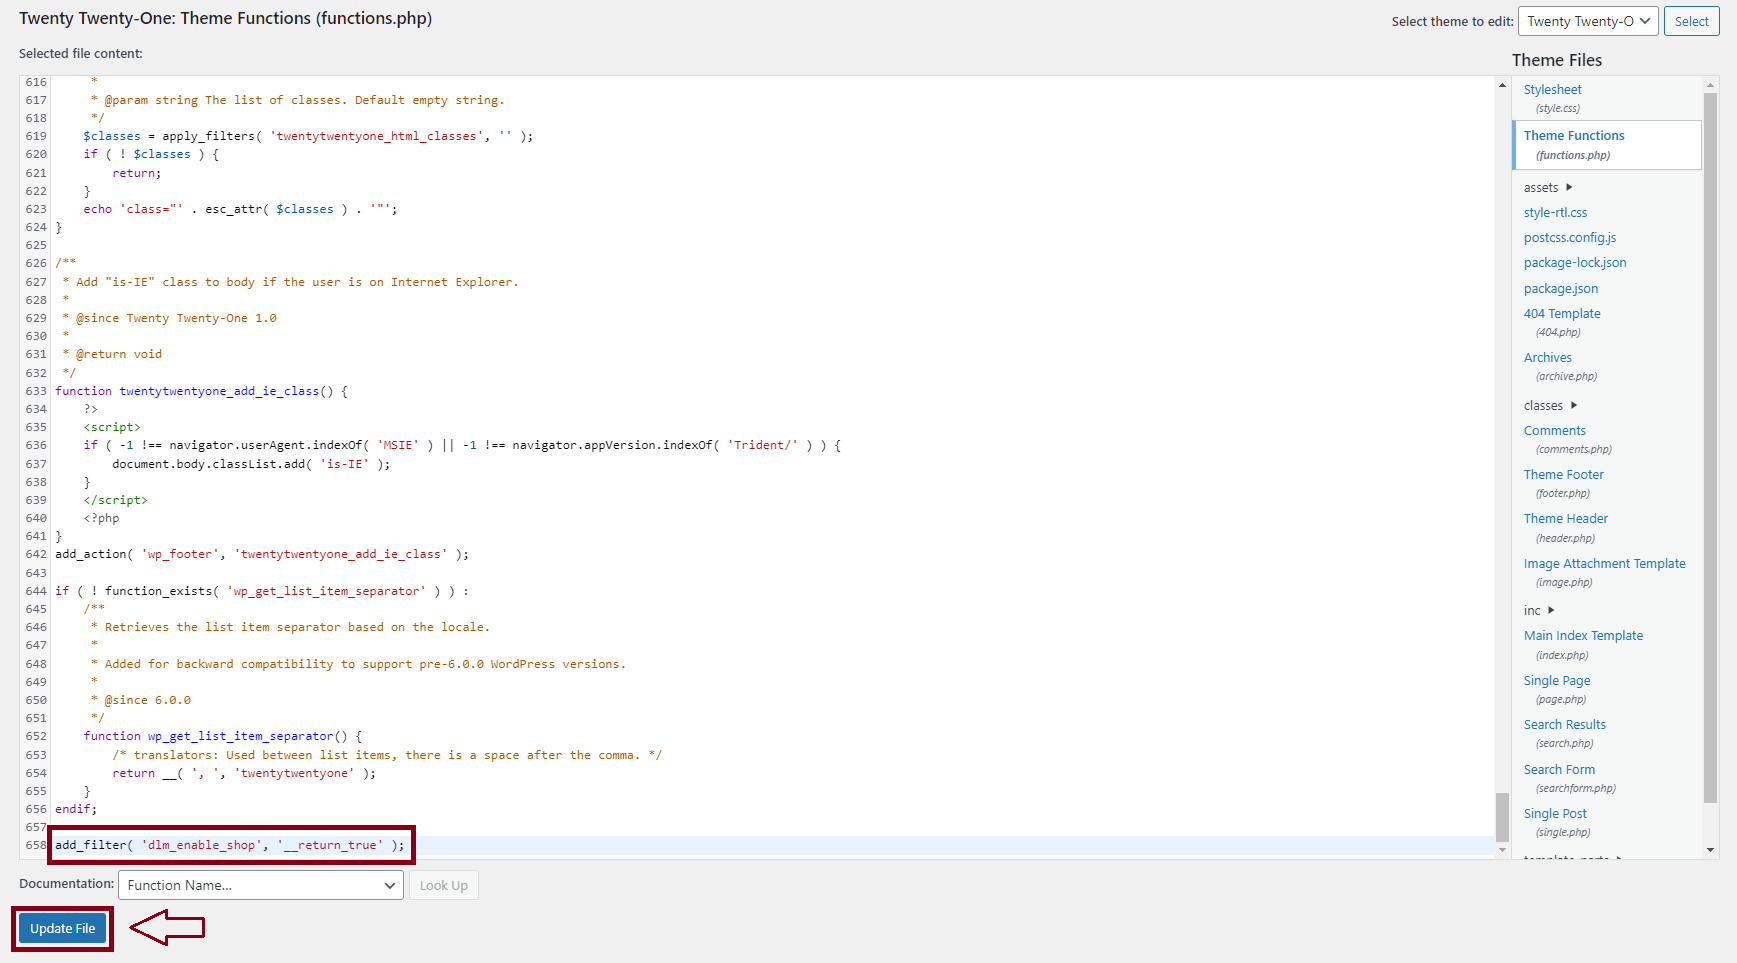
- Add the Custom Code Snippet
Insert the following custom code snippet at the end of thefunctions.phpfile:add_filter( 'dlm_enable_shop', '__return_true' ); - Save Changes
After adding the code snippet, click the “Update File” button to save your changes.